A Look Into Lost Wax Casting at Mimosa Handcrafted
- 19 January 2017
- ByMelissa Santos
- 2 min read
If you ever get invited to visit a workshop, go!
I recently got to spend some quality time being underfoot at Mimosa Handcrafted. It was during the holiday rush, so I tried not to interrogate them too much, but I was completely fascinated by the process of how designs became jewelry. If you're curious, here are some of the things I took away from the visit.
But first, a little background. My cousin Madeline created Mimosa Handcrafted several years ago. It started as a side project. Over the years it's grown to be a full-time job for her and her husband Dawson, plus they have an employee, Courtney. Madeline and Dawson met studying landscape architecture at Louisiana State University. As you might imagine, they have great aesthetic senses and are very good at making them become reality.
Madeline designs most of the custom pieces. Dawson has taken over the process of making them into metal. They make their jewelry through lost wax casting.
While I was there, I documented the process. Here’s my quick version of how the whole thing works:
Every piece of jewelry is created in wax first. A bunch of them are attached together so they can be cast efficiently. Surround the wax in plaster, let the plaster set, remove the wax. Boom, now you can pour hot metal into the plaster mold and get a clump of attached jewelry! It still needs to be detached and cleaned up, but you’ve gone from a piece of wax to a piece of metal.
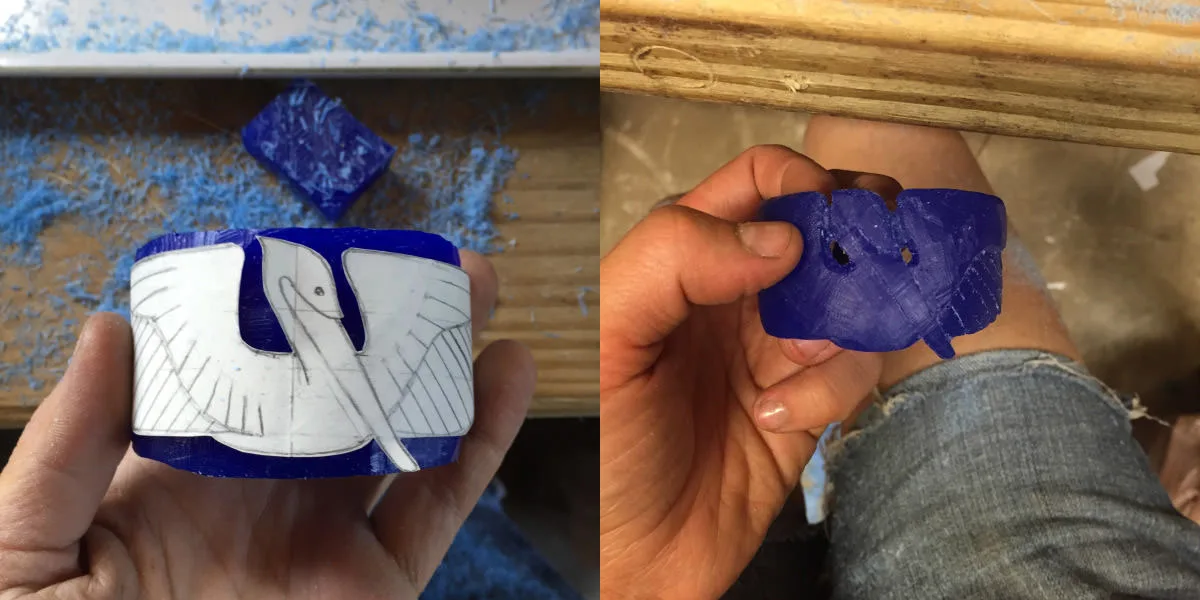
To get started, Madeline hand carves her designs, using a sketch to guide her work. New and custom pieces are created directly in wax, while repeats get made in a silicon mold.
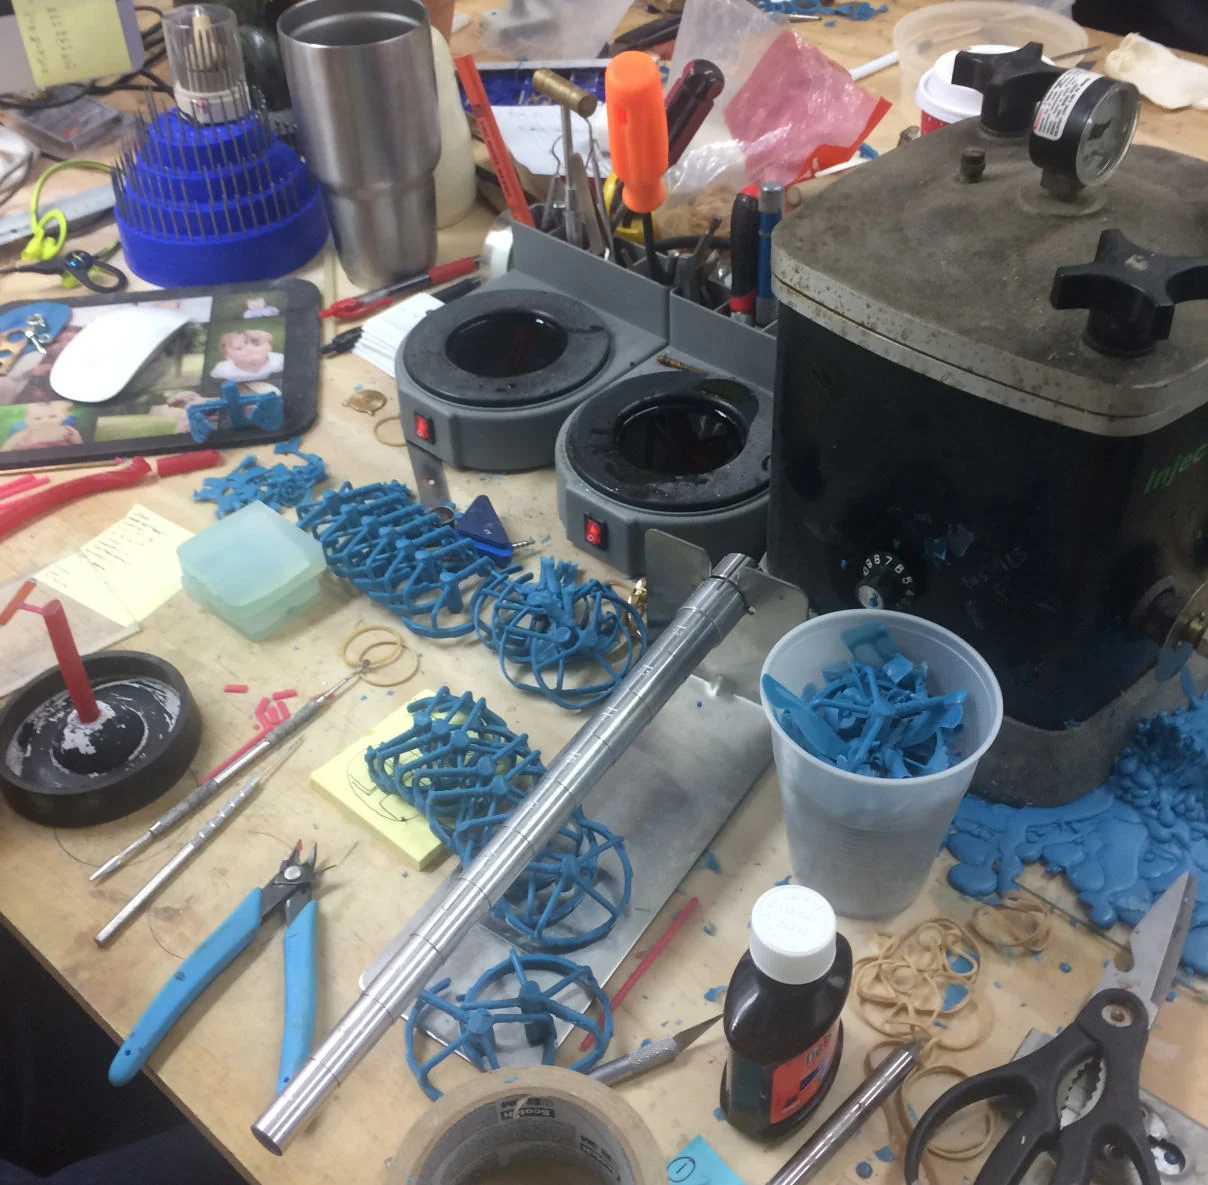
This workbench is where it happens. The two open bowls are full of liquid wax. Red wax is extra sticky, the blue that you see everywhere is extra sturdy.
Off to the left, you see a black disc with a red stick of wax coming out of it - this is a bare tree. Each piece gets attached by a connection of wax called a "sprue." For molded pieces, the sprue is the bit where the wax gets injected into the mold. For custom pieces, someone has to glue a little wax sprue onto the shaped piece.
Then using dabs of hot wax, each piece is glued to the tree.
After that, you'll mix, pour, and wait for plaster to set.
Bubbles in the plaster near the tree would leave extra bits of metal attached to the pieces. Or bubbles could make the plaster less strong, and the metal could break through bits - a blowout. Looks cool, but you have to totally start over.
I didn’t realize that generating a vacuum in your workshop was so common and so useful, but there’s a bell jar.
You have to melt the wax in a steam bath, and since this is Louisiana, that's a crawfish boil setup.
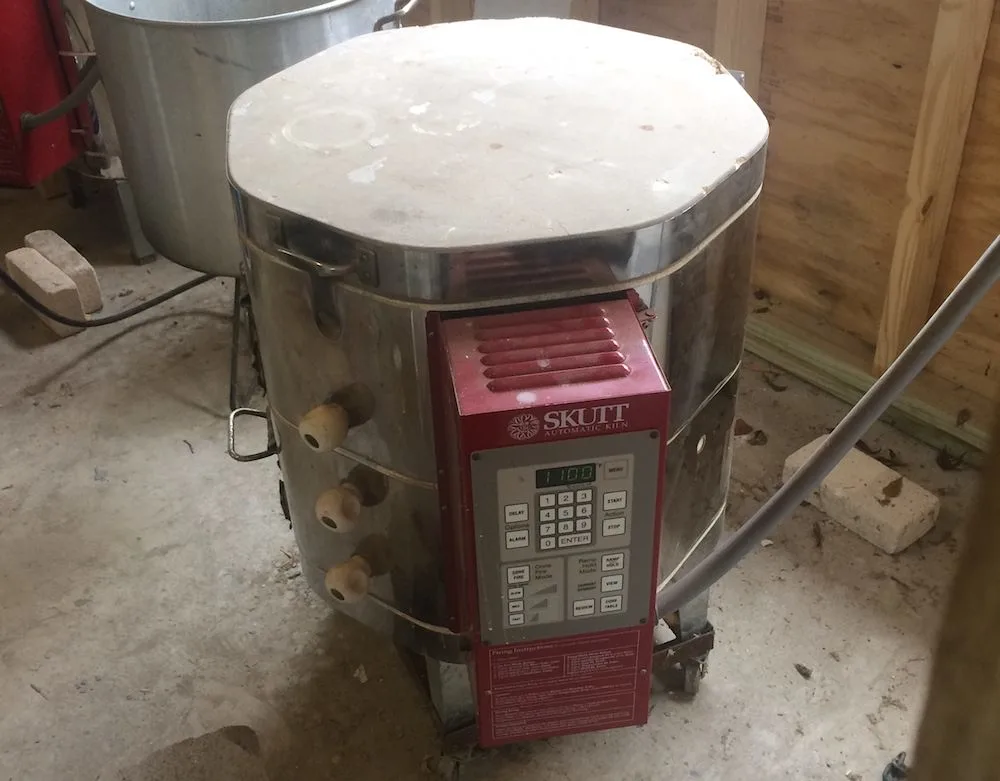
Then you burn off the rest of the wax, set the plaster, and get ready to work with some metal.
They have two melters (there's probably a fancy word for that) for the metal. Each one has a graphite flask that will withstand about 3,000 degrees - the metal is melted at about 2,000 degrees.
Since you know how much wax made up a tree, you can convert to find out how much metal it takes to replace that space. Dawson has a system where he marks each tree plaster, and pre-calculates just how much he'll need.
From there, you pour the metal into the mold, use a vacuum again to pull out the air, and wait for it to set.
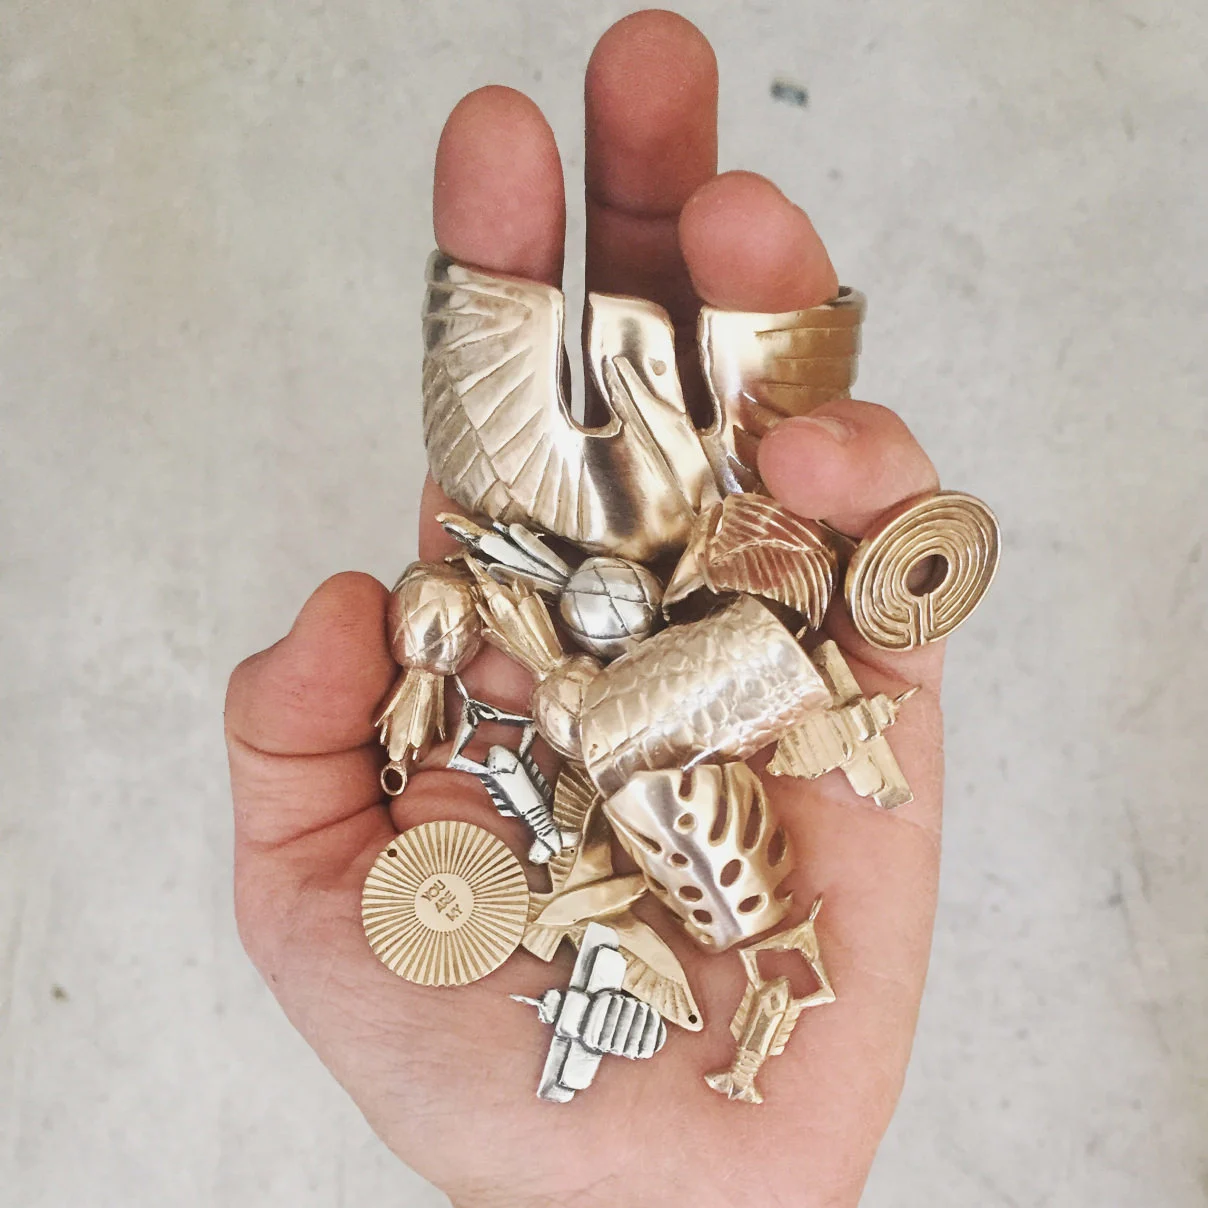
Once you're done, you gotta separate all of these from each other.
Some of the pieces have extra bits, like the Pelican Cuff can have a turquoise eye. But all of them get lovingly polished and packaged before going on to new homes.
The process gets so complex. It took two days of following Dawson around to see all of the steps involved - they're all happening constantly! Madeline will be working on custom pieces while Dawson mixes plaster and Courtney grinds down new pieces. Or Madeline will be buffing jewelry while Dawson melts wax and Courtney handles packaging and shipping. In between each of these stages, even more steps get added to the to-do list. I’m so grateful to all of them for finding time to answer my questions while they were so busy. As you can tell, I really learned a lot!
A version of this post, including the full step-by-step process for the curious, was originally published on Melissa's blog.
19 January 2017
Words by:Melissa Santos
Tags
- Share